How…did…you do that?
Saturday was cold, snowy, and windy, windy, windy, windy, windy. (Did I mention it was windy?) Oh that’s right…we were in Tuscola.
So, it was a perfect day to host one of our SMARTBoard beginners’ workshops. We can’t tell you how much we enjoy our days together. Not only do Shannon and I enjoy one another’s company, but it is refreshing to work with teachers who are excited about technology.
Originally, when we began this blog, we thought we would share our traveling adventures. One of the things we stress in our workshops is to focus on TWO things that you want to take away with you. I have found this to work for me when I have felt overwhelmed by information, and sometimes defeated before I begin. So, with that in mind, I thought I would try to find one thing at each of our workshops that I have learned, either in preparing for the workshop, or from the participants themselves.
In this workshop, the second part is very “hands-on”. We “show”, they “do”. It is then that we are available for help and guidance.
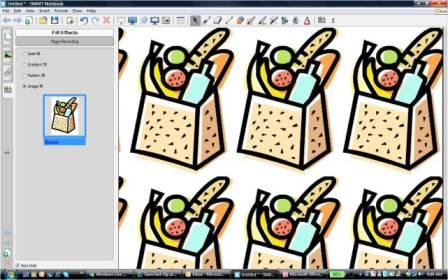
We were going over basics on formatting the background, and one of the teachers had a tiled background. She did not know how she got it, and I had to look to see whether she had cloned a piece of clipart. Finally, looking at the “formatting tab”, I saw that she had selected a small piece of clipart to use for the “insert image” fill option. I had never seen that done, nor thought of doing it myself, and it had created a “tiled” background, much like your desktop might look if you choose to use a small picture for your background. This option, especially made more transparent, might be something someone can use, and it is nice to know that it is available. On the other hand, it was nice for me to know how it was done if it was an accident. After all, isn’t that what we tell our students? That those things we learn best are from our mistakes?

